

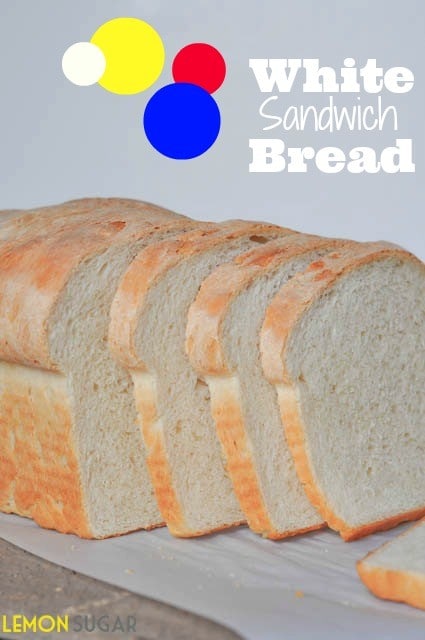
**White Sandwich Bread**
Yesterday evening, I realized that I didn’t have enough potatoes to make the mashed potatoes I was planning for dinner. At that point, most people probably would’ve nixed the mashed potatoes (which would be a very, very sad thing…) and found another side dish. But I’m lucky enough to live a couple of minutes away from my parent’s house, which means I am just a couple of minutes away from my Dad’s garden.
So, after a quick trip down the road and armed with a bucket, I came home with a bunch of potatoes, red, yellow and white onions, sweet corn, yellow squash and more than my fair share of perfectly ripe beefsteak tomatoes.
Dinner last night came and went, complete with mashed potatoes. And today? Today I made bread so I could eat Tomato & Mayo sandwiches on white bread.
They’re like, my favorite thing ever. The tomatoes were so ripe that they were almost sweet, so I sprinkled them with a bit of sea salt and black pepper. They were so juicy that they kind of became one with the mayo, and this fresh, still slightly warm homemade bread kept them right where they were supposed to be, on their way to my tummy.
I have little kids. I can still say tummy.
As much as I’m looking forward to another T&M sandwich though, I have to say that I am pretty excited about throwing some of this in the toaster tomorrow morning. I’m actually trying to figure out how I can eat this bread for every meal until it’s gone without having to share it with my family. It’s that good.

I know that lots of you out there are afraid of making homemade bread because you’ve never worked with yeast before. Please, please, please try this recipe. I know you can do it. If I can do this you guys, you can too. You don’t need a stand mixer, you can make this all by hand. Just stir with a big wooden spoon until it all comes together and then knead it for ten minutes on a lightly floured surface. Use fresh yeast, use new flour. When you let your dough rise, do it in a warm, draft-free spot. (I like to heat my oven to warm, then turn it off, and let my dough rise in a closed, warm oven.)
INGREDIENTS
1 and 1/2 cups scalded milk
1 Tablespoon sugar
2 and 1/4 teaspoons instant/quick-rise yeast
1 and 3/4 teaspoons salt
2 Tablespoons soft butter
4 cups all-purpose flour
INSTRUCTIONS
- Heat milk over low heat, stirring constantly until it just comes to a boil. Set aside to cool to lukewarm temperature.
- In the bowl of a stand mixer, combine all ingredients. Beat with a dough-hook until dough comes together, then beat for 5 minutes more. If dough sticks to the side of the bowl, add a teaspoon of flour at a time until it forms a ball that doesn't stick. Take care not to add unnecessary flour, just add as much as you need.
- Place dough in a greased bowl, and cover with plastic wrap. Allow to rise for 40-90 minutes or until almost doubled in size.
- Punch down dough (to deflate) and form into a 9-inch round log.
- Place log in a 9x5 loaf pan, and allow to rise for another 40-90 minutes or until dough rises an inch or so above the sides of the loaf pan.
- Preheat oven to 350 degrees.
- Bake for 20 minutes, then cover with tented aluminum foil, and bake another 15-20 minutes or until golden brown and sounds hollow when tapped.
- Turn out and allow to cool completely on a wire rack.
- Store in plastic wrap, and use within a few days.
by